Getting Started with Aurelia on ASP.NET Core
Aurelia, one of the leading JavaScript client frameworks for single page applications (SPAs), has been around for a while now and there are a number of resources for getting started with it. Rather than try to make yet another demo, I thought it might be fun to create a site repository that could be used as a template with a few more bells and whistles already setup. It is my hope that this will be useful not just to me, but to anyone else who wants to start a project. We’re going to use the command line tools to do this, but you can use Visual Studio 2017 if you want as well.
Setting up the ASP.NET Core Project
Prerequisites
- Node.js (preferably current)
- ASP.NET Core SDK
Steps
- Create a folder for your project.
- Open a command prompt (cmd) in that folder.
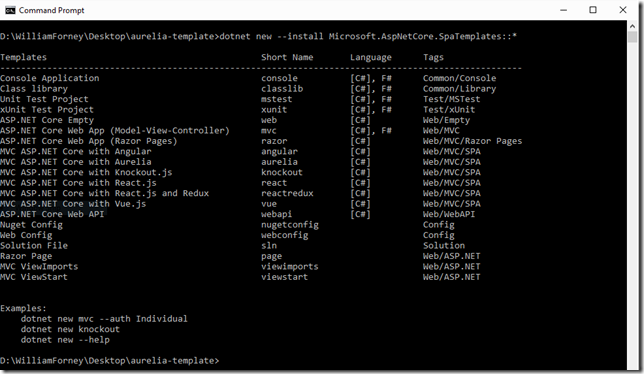
- Install the SPA templates with the following command:
dotnet new --install Microsoft.AspNetCore.SpaTemplates::*

- Create the Aurelia project like this:
dotnet new Aurelia

- Prepare the environment to run using these commands, ignoring any warnings from npm as they are expected…
dotnet restore
npm install
setx ASPNETCORE_ENVIRONMENT "Development"


- Restart your command prompt to ensure that the environment change takes effect.
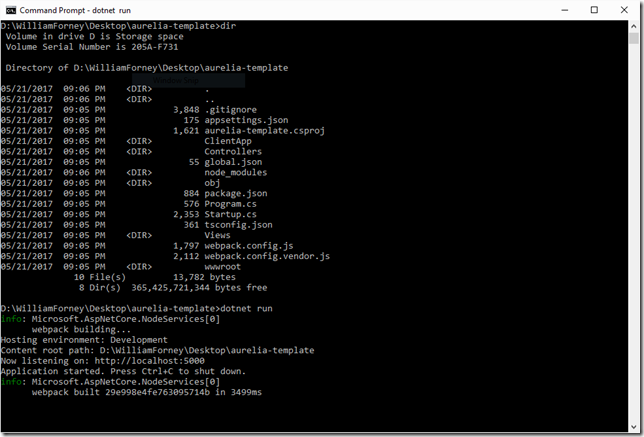
- Run your new app with the command line
dotnet run

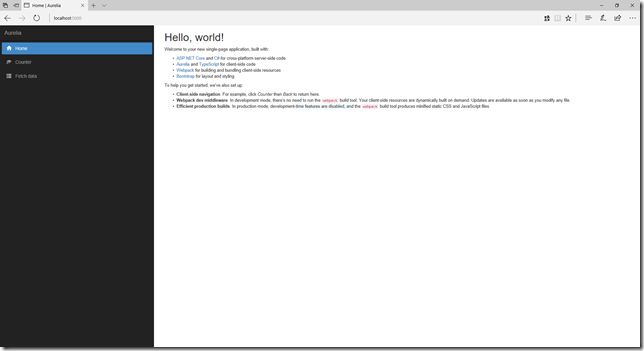
These steps should give you a bare bones ASP.NET Core site with a basic Aurelia setup that looks like this…
Publishing to a Host
Now that you have a working site you’ll want to publish it to an actual server somewhere. To do that you’ll perform a publish. You can do this by running this command:
dotnet publish -c Release
This command compiles the server side C# code and runs a webpack production build on the TypeScript and client assets. You can then find the files to upload to your host in the bin\Release\netcoreapp1.1\publish folder.
Exploring the Template
This template takes care of a lot of things that you would have to setup manually and makes a good starting point for adding more functionality, such as logging with Application Insights or another logging provider, fleshing out an administration interface for user management and authentication/authorization using Identity Server, or any number of other useful additions that are widely available.
To get started understanding what we’ve got here, you’ll want to take a look into the files in your new project. You’ll notice that in Startup.cs we have setup a fallback route that allows anything not dealt with by a static file or MVC route to be sent to the Home Index view. This is the secret sauce that lets all your links work even though they aren’t configured individually.
routes.MapSpaFallbackRoute(
                    name: "spa-fallback",
                    defaults: new { controller = "Home", action = "Index" });
To be continued…


Comments
Comments are closed